When doing yoga from home, make sure your form is correct with this expert advice from a yoga instructor.
There’s a lot I miss about in-person yoga classes, including the relaxing smell of burning incense as O fold myself into a child’s pose, the soothing sound of my instructor’s voice guiding me through the postures and the warm environment making my muscles feel loose and limber before I even start. It’s safe to say that attempting to practice at home with a dodgy connection while wearing three layers to avoid turning the heating on, isn’t quite the same.
But the part I miss the most is that there’s no one there to tell me when I’m doing things wrong. According to Bupa, 7.2 million people in Britain have been injured while exercising during the lockdown, mainly from trying to follow along with online classes.
Conversations with colleagues suggest that they’re injured too, searching for advice on dodgy wrists and low back pain. But from the Stylist team’s experience, our pain has often resulted from more gentle, restorative practices, rather than the high-intensity training you’d imagine would lead to injury.
You may also like
How to work out at home and not risk an injury, according to PT Alice Liveing
Given that yoga provides numerous benefits for the mind and body benefits, I’d hate to give up my practise. But I knew that I’d need to get my form in check. So I took the Strong Women team’s dilemmas to Chatty Dobson, yoga teacher and founder of FLEX Chelsea, who shared her wisdom on how to nail home yoga practise without pain.
“How do I stop wrist pain in downward dog?”
“Sprained wrists are one of the most common yoga injuries. In downward dog, there’s a lot of pressure on our wrists, and as naturally upright beings we’re not used to that,” says Chatty.
To stop the strain through the joints, ensure your wrists are thoroughly warmed up before practising:
Wrist warm-ups:
- Start in a tabletop position (on all fours with your knees under your hips and wrists under your shoulders). Gently rock backwards and forwards, make circles with the body around the wrists.
- In a kneeling position, interlace the fingers, draw the palms together. Make circles with the fists, going in both directions.
You may also like
Wrist stretches: how to release tension from typing and training
“When it comes to performing downward dog, the best way to prevent pain is by having your hands in the correct position: fingers spread as wide as they go with your middle finger or the ‘V’ of your index and middle finger (dependent on your shoulder mobility) pointing directly forward – ensuring that you’re gripping the mat with your fingertips and especially your thumbs, rather than dumping all the weight into the wrists.
“To further relieve some of the pressure in the pose, you can place the base of your palms onto a rolled towel. Another super simple way to make the posture easier on your wrists is by building strength through the joint. To do this, squeeze a stress ball when you’re watching TV, scrolling Instagram or cooking dinner.”
You may also like
How to do a downward facing dog correctly
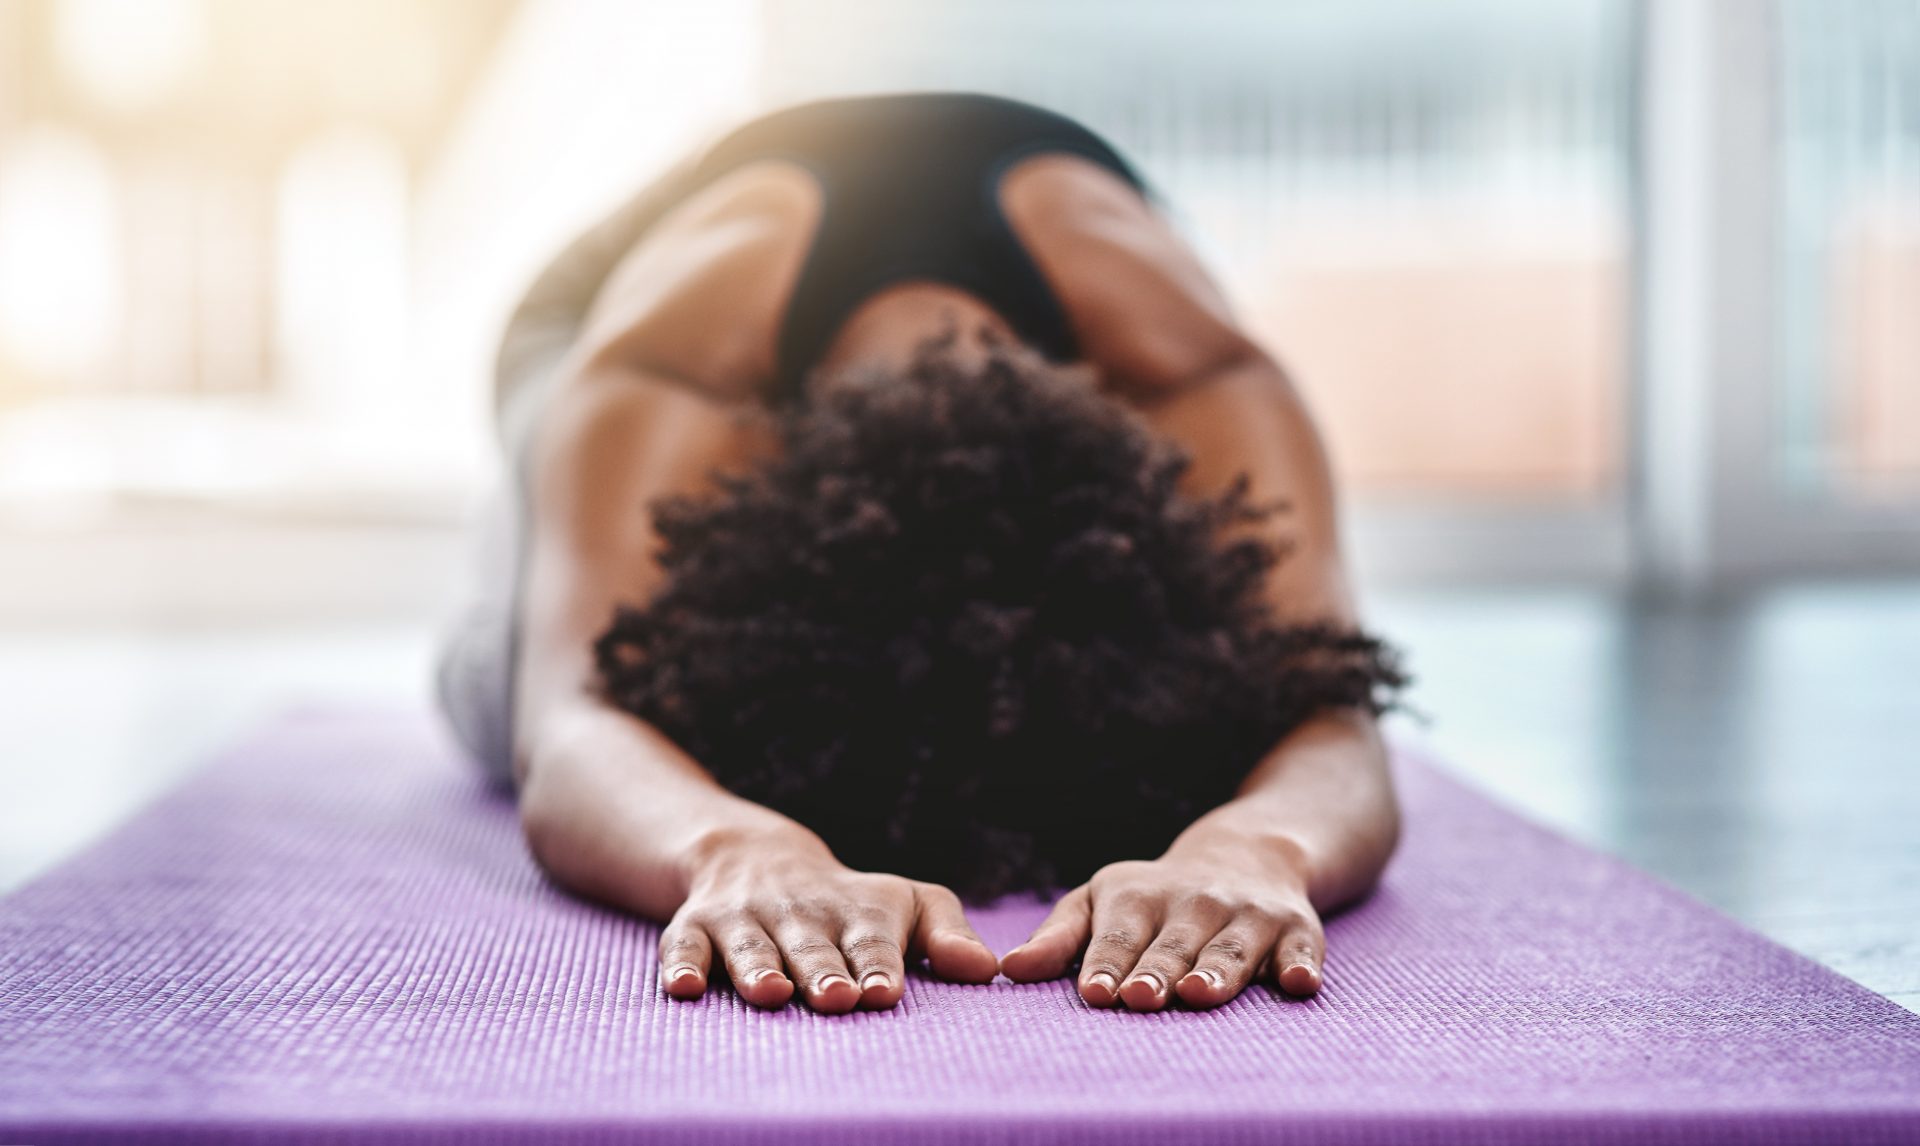
“How can I feel a deeper stretch in child’s pose?”
“Child’s pose is a great restorative stretch for the spine and there’s no need to force it. But if you want to increase the stretch, roll your tailbone under by pushing the base of your spine towards the soles of your feet and walk your hands as far forwards as you can to elongate the spine.
“You may find more space in the open-hipped variation, where your knees are mat-width apart and your body rests between the thighs. If you’re still not feeling anything, hold the pose for 2-3 minutes. This will allow the muscles to ease and release, so that you can get deeper into the posture.”
You may also like
Yoga poses that will ease period pain and stomach cramps
“How do I avoid lower back pain in upward dog?”
“Upward dog is a strong backbend and heart opener so you can’t go straight into the pose when you’re not warmed up or have a stiff spine.
“Before performing the move, ensure your glutes are engaged by squeezing your butt muscles – this will protect your lower spine. Push the floor away with your hands so your arms are strong and draw the shoulders together and down the back. This enables the low back to be supported from the top and bottom, so there should be less stress through the spine.
“There’s absolutely no point in putting a strain on your back for a posture, so if you’re still experiencing pain, take it back a step to cobra pose.Give yourself time, you’ll get there.
How to do cobra pose:
- Lie face down on your mat with your arms bent by your sides so your palms are by your head and forearms are down.
- Squeeze your bum muscles and roll the shoulders back as you begin to lift your chest off the mat.
- Bring your hands off the floor if you can, making sure you push your pubic bone down into the floor.
- Release by bringing your chest back to the mat.
“How do I actually ‘square off’ my hips?”
“This is a phrase that yoga instructors love, myself included. Yet even as I say it, I wonder how many people know what I’m talking about.
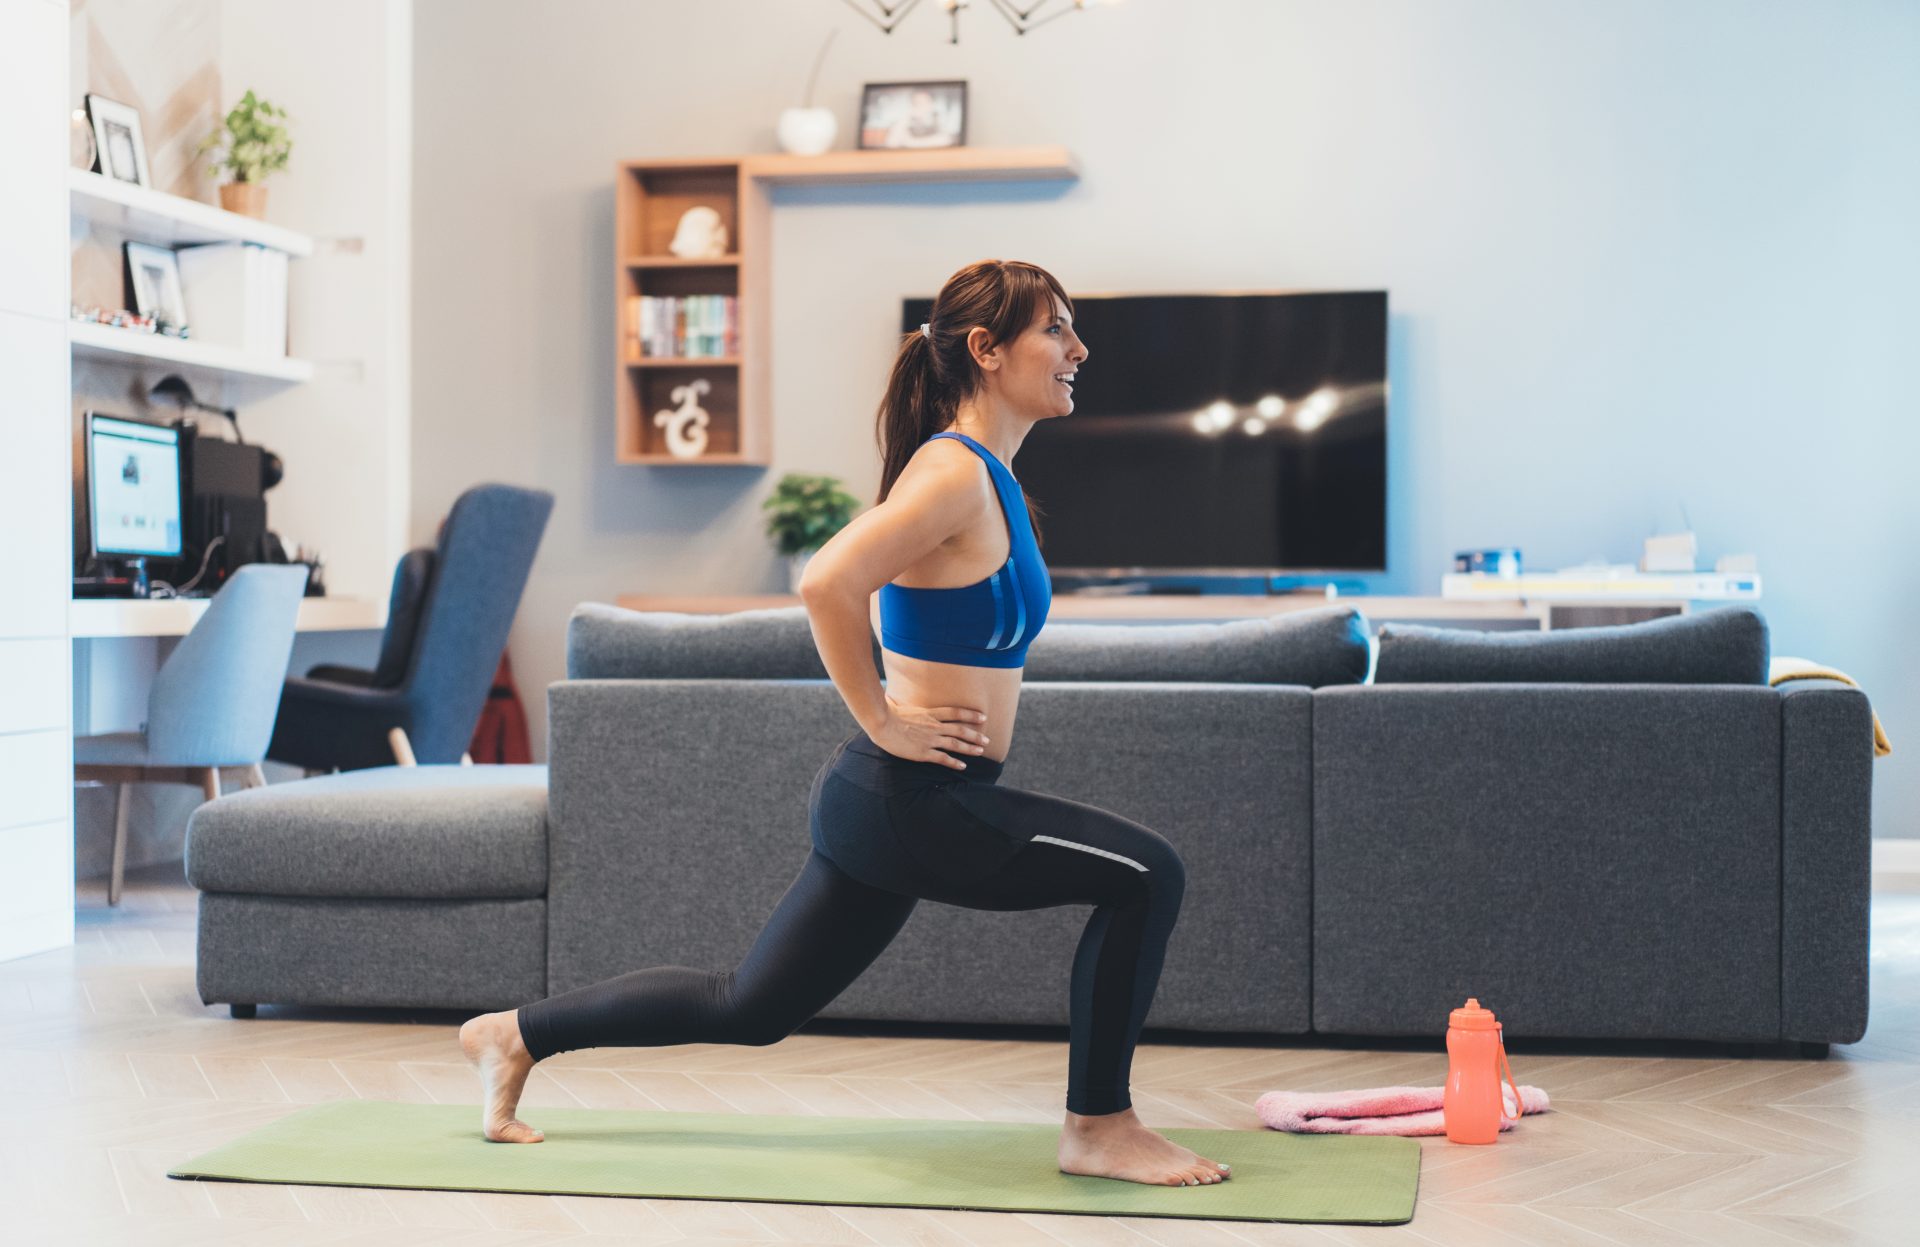
“In the vast majority of postures, we need to try and keep our hips ‘square’, meaning in line with one another – ie one’s not in front of/above the other. But often, our hips can become misaligned in yoga for all sorts of reasons, including tight hamstrings and psoas (the muscles connecting your hips and pelvis). For example, when you take a step into a lunge, the back hip can fall backwards, but you usually want both of the hips to stay pointing forwards.
“The easiest way to become aware of where your hips are is to put your hands on them. This way you can see if they’re aligned or one is miles in front of the other. Feel your body and work them into alignment. It may not happen instantly because of tight muscles, but you’ll get to know the correct feeling and eventually, you’ll get there.”
You may also like
Tight hip flexors? This might be why, according to a mobility expert
“How do I improve balance in single leg poses?”
“Balance involves more core strength than you would expect, so if your abdominal muscles aren’t engaged, you will probably end up wobbling. Your chest should be slightly lifted with the muscles of the back engaged and abs squeezed.
“Your feet are also important. Make sure your weight is evenly distributed across the heel, ball and toes of your standing foot. It sounds obvious, but quite often that’s what’s causing the wobble.
“However, the best way to fix poor balance is to create a micro-bend in the standing leg. The leg muscles will become more engaged so you’ll have more control over the whole posture. And it goes without saying – don’t look around! Keep your gaze on one focussed spot.”
Follow @StrongWomenUK on Instagram for the latest workouts, delicious recipes and motivation from your favourite fitness experts.
Images: Getty
Source: Read Full Article